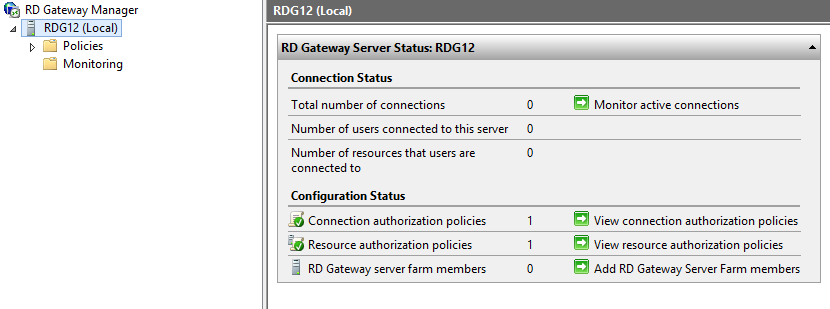
In part 1 and part 2, we migrated the associated users, groups and policies from the Remote Desktop Gateway server, RDG08, to RDG12. In this part, we are going to migrate the certificate of Remote Desktop Gateway server to RDG12.
Goal
- Migrate local users accounts of groups which are associated with Remote Desktop Gateway server in the existing Remote Desktop Gateway server to Windows Server 2012 R2 environment
- Migrate the Remote Desktop connection authorization policies and Remote Desktop resource authorization policies from the existing Remote Desktop Gateway server to Windows Server 2012 R2
- Export and import the certificate of Remote Desktop Gateway server from the existing one to Windows Server 2012 R2
Lab environment
- 1 Windows Server 2008 R2 with Remote Desktop Gateway named RDG08 in workgroup environment
- 1 Windows Server 2012 R2 named RDG12 in workgroup environment
- IP addresses of RDG08 and RDG12 are 10.100.100.2 and 10.100.100.1
Lab
This part is intended to export the certificate from RDG08 and then import it to RDG12.
Export the certificate of Remote Desktop Gateway from RDG08
1. On RDG08, log in as Local Administrator.
2. Launch "Microsoft Management Console".
3. On the menu, click "File > Add/Remove Snap-in".
4. On "Add or Remove Snap-ins" window, double-click "Certificates".
5. On "Certificates snap-in" window, select "Computer account".
6. Click "Next".
7. On "Select Computer" window, click "Finish".
8. On "Add or Remove Snap-ins" window, click "OK".
9. Expand "Certificates (Local Computer) > Personal > Certificates".
10. On right pane, right-click the certificate, select "All Tasks > Export".
11. On "Welcome to the Certificate Export Wizard" window, click "Next".
12. On "Export Private Key" window, select "Yes, export the private key".
13. Click "Next".
14. On "Export File Format" window, under "Personal Information Exchange - PKCS #12 (.PFX)", check "Include all certificates in the certification path of possible" and "Export all extended properties".
15. Click "Next".
16. On "Password" window, provide a password for this certificate.
17. Click "Next".
18. On "File to Export" window, next to "File name", enter "C:\Mig\RDG.pfx".
19. Click "Next".
20. On "Completing the Certificate Export Wizard" window, click "Finish".
21. On "Certificate Export Wizard" window, click "OK".
Import the certificate of Remote Desktop Gateway from RDG12
1. On RDG12, log in as Local Administrator.
2. Launch "Remote Desktop Gateway Manager".
3. Right-click "RDG12 (Local)", select "Properties".
4. On "RDG12 Properties", select "SSL Certificate".
5. Select "Import a certificate into the RD Gateway RDG12 Certificates (Local Computer)/Personal store" and then click "Browse and Import Certificate".
6. On "Open" window, navigate to "\\10.100.100.2\Mig", and then select "RDG".
7. Click "Open".
8. On "Enter Private Key Password" window, enter the password of this certificate.
9. Click "OK".
10. On "Certificate Import" window, click "OK".
11. On "RDG12 Properties", click "OK".
As a result, users can use a new password to connect the Remote Desktop Gateway server, RDG12.
Please go to the following web sites to read the previous of this series.
This posting is provided “AS IS” with no warranties, and confers no rights!


No comments:
Post a Comment