DHCP failover is a new feature on the DHCP server of Windows Server 2012. It provides the following features:
- Provide DHCP service availability at all times on the enterprise network
- If a DHCP server is no longer reachable, the DHCP client is able to extend the lease on its current IP address by contacting another DHCP server on the enterprise network
The DHCP server failover feature provides the ability to have two DHCP servers serve IP addresses and option configuration to the same subnet or scope. DHCP failvoer in Windows Server 2012 provides support for a maximum of two DHCP servers, and the failover relationship is limited to IPv4 scopes and subnets.
Reference from "Understand and Troubleshoot DHCP failover in Windows Server 8 beta".
Goals
Configuring DHCP failover for contoso domain 10.0.0.0/8 network
Lab environment
- 1 domain controller named DC01 which is installed Windows Server 2012 for contoso.com
- 2 member servers named App01 and App02 which are installed Windows Server 2012 for configuring DHCP failover. The IP address of App01 is "10.5.0.1" and the IP address of App02 is "10.5.0.2".
- 2 workstations which are installed Windows 8 as the DHCP clients
1. On App01, log in as Domain Administrator.
2. Launch "Server Manager".
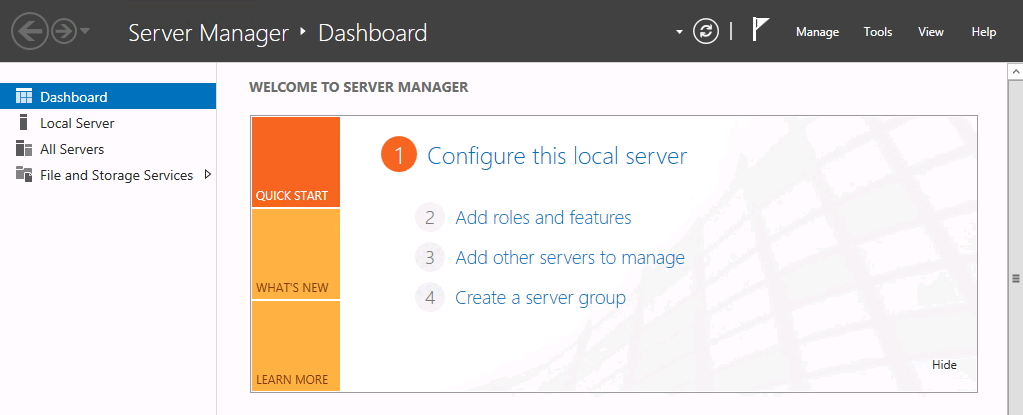
3. Click "Add roles and features".
4. On "Before you begin" screen, click "Next".
5. On "Installation Type" screen, select "Role-based or feature-based installation", click "Next".
6. On "Server Selection" screen, click "Next".
7. On "Server Roles" screen, check "DHCP Server", then click "Add Features".

8. Click "Next".
9. On "Features" screen, click "Next".
10. On "DHCP Server" screen, click "Next".
11. On "Confirmation" screen, click "Install".

12. When installation finished, click "Completed DHCP configuration".

13. On "Description" screen, click "Next".
14. On "Authorization" screen, select "Use the logged in user's credentials".

Remark: You can assign an "alternate credentials" for authorize this DHCP server. For more information: Please read "Authorizing DHCP server by a non-enterprise administrator".
15. Click "Commit".

16. Click "Close".
17. Repeat step 1 - 16 on App02.
18. On App01, launch "DHCP Console".
19. Expand "app01.contoso.com > IPv4", right-click "IPv4", select "New Scope".
20. Create a DHCP scope for 10.0.0.0/8 network.

21. Right-click the DHCP scope, select "Configure Failover".
22. On "Introduction" screen, still check "Select all".

23. Click "Next".
24. On "Specify the partner server to use for failover" screen, click "Add Server".
25. Select "This authorized DHCP server > app02.contoso.com".

26. Click "OK".

27. Click "Next".
Remark: If you configures split scopes in both DHCP servers, you need to remove the DHCP scope in the partner server before you set up DHCP failover. If the scopes haven't been removed, you get the following error.

Remark: If you configures split scopes in both DHCP servers, you need to remove the DHCP scope in the partner server before you set up DHCP failover. If the scopes haven't been removed, you get the following error.

On "Create a new failover relationship" window, there are some configurations.

Relation name: A unique failover relationship name is required to identify the failover setup between two servers. Since multiple failover relationships can exist with one or more DHCP servers, each relationship name is required to be unique on a server.
Maximum Client Lead Time: It defines the temporary lease period given by the failover server to a new client.
Mode: There are two modes for DHCP failover which are "Hot Standby" and "Load balance".
In hot standby mode, two
servers operate in a failover relationship where an active server is
responsible for leasing IP addresses and configuration information to all
clients in a scope or subnet, while a secondary server assumes this
responsibility if the primary server becomes unavailable. A server is primary
or secondary in the context of a subnet.
In a load balance mode
deployment, which is the default mode of operation, the two servers
simultaneously serve IP addresses and options to clients on a given subnet. The
client requests are load balanced and shared between the two servers.
Auto State Switchover Interval: A server that loses
communication with a partner server transitions into a communication
interrupted state. The loss of communication may be due to a network outage or
the partner server may have gone offline. Since there is no way for the server
to detect the reason for loss of communication with its partner, the server
will continue to remain in communication interrupted state until the administrator
manually changes the state to partner down. Alternatively, DHCP failover has a
provision for automatic transition to partner down state based on a time out
interval. This is a configurable element called the auto state switchover
interval. The default value for auto state switchover interval is 10 minutes.
Enable Message Authentication: To
configure message authentication, the DHCP failover setup wizard prompts the
administrator to provide a shared secret. As part of the failover relationship creation,
the failover setup wizard provisions the shared secret for message
authentication to each of the servers in the failover relationship.
28. Next to "Maximum Client Lead Time", change to 1 min for testing.
29. Next to "Mode", still select "Load balance".
30. Check "Auto State Switchover interval", and then change to "20" minutes.
30. Check "Auto State Switchover interval", and then change to "20" minutes.
31. Provide the "Shared Secret".

32. Click "Next".

33. Click "Finish".

34. Click "Close".
35. Right-click the DHCP scope, select "Properties".
36. Next to "Lease duration for DHCP clients", change to "Limted to" 8 mins.

37. Click "OK".
38. Go to App02, launch "DHCP Console".

The DHCP scope was created automatically.
40. Next to "Lease duration for DHCP clients", change to "Limted to" 5 mins.
Test result
1. Power on 2 workstations.
2. Check the IP adresses on 2 workstations by "ipconfig /all".

Workstation 1 obtained the IP address from App01

Workstation 2 obtained the IP address from App02
The DHCP failover is functioning.
3. Disconnect the network cable on App01.
4. When the lease time expired, perform "ipconfig /all" on workstation1.

Because the App01 cannot be contacted, workstation 1 obtained the same IP address from APP02.
5. Back to App02, right-click the DHCP scope, select "Properties".
6. Select "Failover" tab.

Now, the DHCP scope is take over by App02. It proves that the DHCP failover is functioning.
Remark: By default, DHCP failover synchronizes the IP address lesase information. However, it doesn't synchronize the "Reservations" and "Scope Options". To synchronize the "Reservations" and "Scope Options", we need to perform "Replication Scope".

Remark: By default, DHCP failover synchronizes the IP address lesase information. However, it doesn't synchronize the "Reservations" and "Scope Options". To synchronize the "Reservations" and "Scope Options", we need to perform "Replication Scope".

Remark: If you more than 1 DHCP scope in the failover relationship, you can select "Replicate Relationship" to update "Reservations" and "Scope Options" of all DHCP scopes in the failover relationship.
Remark: If you perform "Replicate Scope" in a server, which hasn't been configured "Reservations" and "Scope Options", the latest settings in the partner server are overridden.
Remark: Make sure TCP port 647 hasn't been blocked in both DHCP failover servers. If this port is blocked, the Address Leases of DHCP failover servers aren't synchronized.
Remark: Make sure TCP port 647 hasn't been blocked in both DHCP failover servers. If this port is blocked, the Address Leases of DHCP failover servers aren't synchronized.
References:
Step-by-Step: Configure DHCP for failover
Understand and Troubleshoot DHCP failover in Windows Server 8 beta
http://www.microsoft.com/download/en/details.aspx?id=29008
For more information:
Ensuring High Availability of DHCP using Windows Server 2012 DHCP Failover
This posting is provided "AS IS" with no warranties, and confers no rights!


